Kick converging parallels to the curb
In architectural photography, converging parallels, also called “keystoning”, can make buildings appear as if they’re going to topple over – which usually isn’t a good thing if you’re creating commercial photos for a realtor, developer, or construction company. If you’re like me and want to get that “architectural” feel to your photos, read along as I describe why keystoning happens, and how to minimize it while you’re out shooting.
I want to make a quick mention that there is definitely a time and place for emphasizing converging parallels. They can create a really dramatic feeling that shows off the subject’s size and space and can be used for creative and artistic effect. Pictured below is an image I created atop the 25th floor of Chicago’s Tribune Tower looking almost straight up at the building’s iconic neo-Gothic crown. Converging parallels to the max, but I digress. It’s time to move in the opposite direction – achieving vertical parallels.

How do converging parallels occur?
Before I get into how to rid your photos of converging parallels, it’s important to know why they happen in the first place. In short, it has to do with the fact that a camera’s sensor is flat – and geometry. Lots and lots of geometry. The diagram below illustrates light rays coming in at the same, but opposite angle, hitting an image sensor. Study it for a moment and I’ll explain what’s going on after the image…
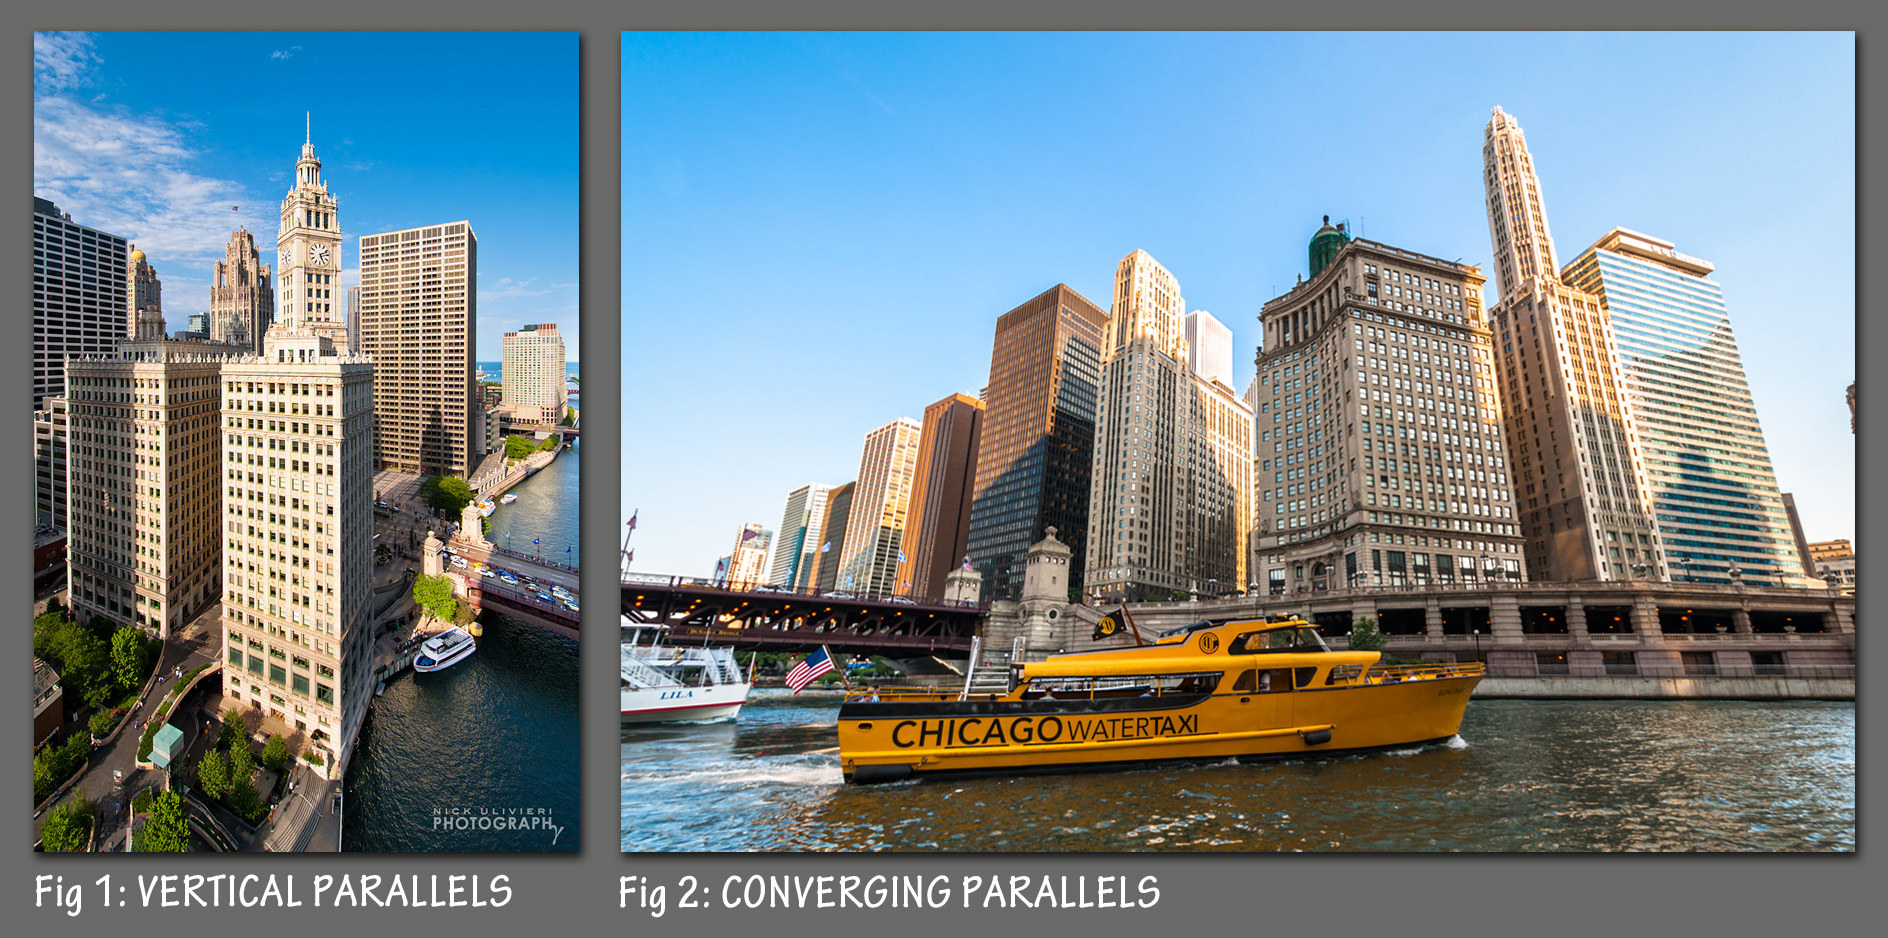
 Notice anything different between the two figures? In Figure 1, our image sensor is parallel to the ‘awesome’ new building we’re photographing. In this case the light rays coming in at any given angle of incidence travels the exact same distance as the inverse angle of incidence. In this case we would expect to create an image with perfectly vertical parallel lines (Example: Fig 1 of the Wrigley Building below).
In Figure 2 our theoretical camera is tilted a bit and depicts the optical geometry that would create converging parallels (Example: Fig 2 of Wacker Drive below). The red section of the upper light ray represents the slightly longer distance traveled than the light ray coming in at the inverse angle of incidence. The fact the the light ray is traveling farther means the subject is farther away relative to the sensor. And as we all know, the farther away something is the smaller it appears. Hence the top of the image appears to “fall away” from the viewer since it is physically farther away from the camera.
How to minimize converging parallels without a tilt-shift lens
1. Keep your camera level/parallel to your subject – As illustrated in Figure 1 of my diagram, it’s easy to see that keeping the image sensor parallel to your subject is the simplest way to ensure your photos have straight vertical lines.
2. Back away – There are times where you may try to follow the first tip, but can’t seem to get the composition right, or even a slight tilt results in major converging parallels. Well, you may be too close. Try backing up – be it a few feet, or a few blocks. The further away you are from a subject, the less pronounced converging parallels become and the more room you have to nail the composition.
3. Turn & Crop – There may be times where you simply have no room to back-up yet you still can’t get your camera level while shooting in landscape mode. So shoot in portrait orientation, level the camera, then crop the image in post-production.
4. Climb – When the first three techniques fail, you’ll need to change your vantage point (by getting higher) and trying out step one again. The above photo of the Wrigley Building is a perfect example of this. From the ground, I couldn’t keep my camera level, and I couldn’t back-up any further because Trump Tower was in the way. Worse still, I was too close to ‘turn & crop’. Luckily, Trump Tower’s terrace on the 16th floor allowed me a gorgeous view of Wrigley wherein I could shoot with my camera parallel to the building.
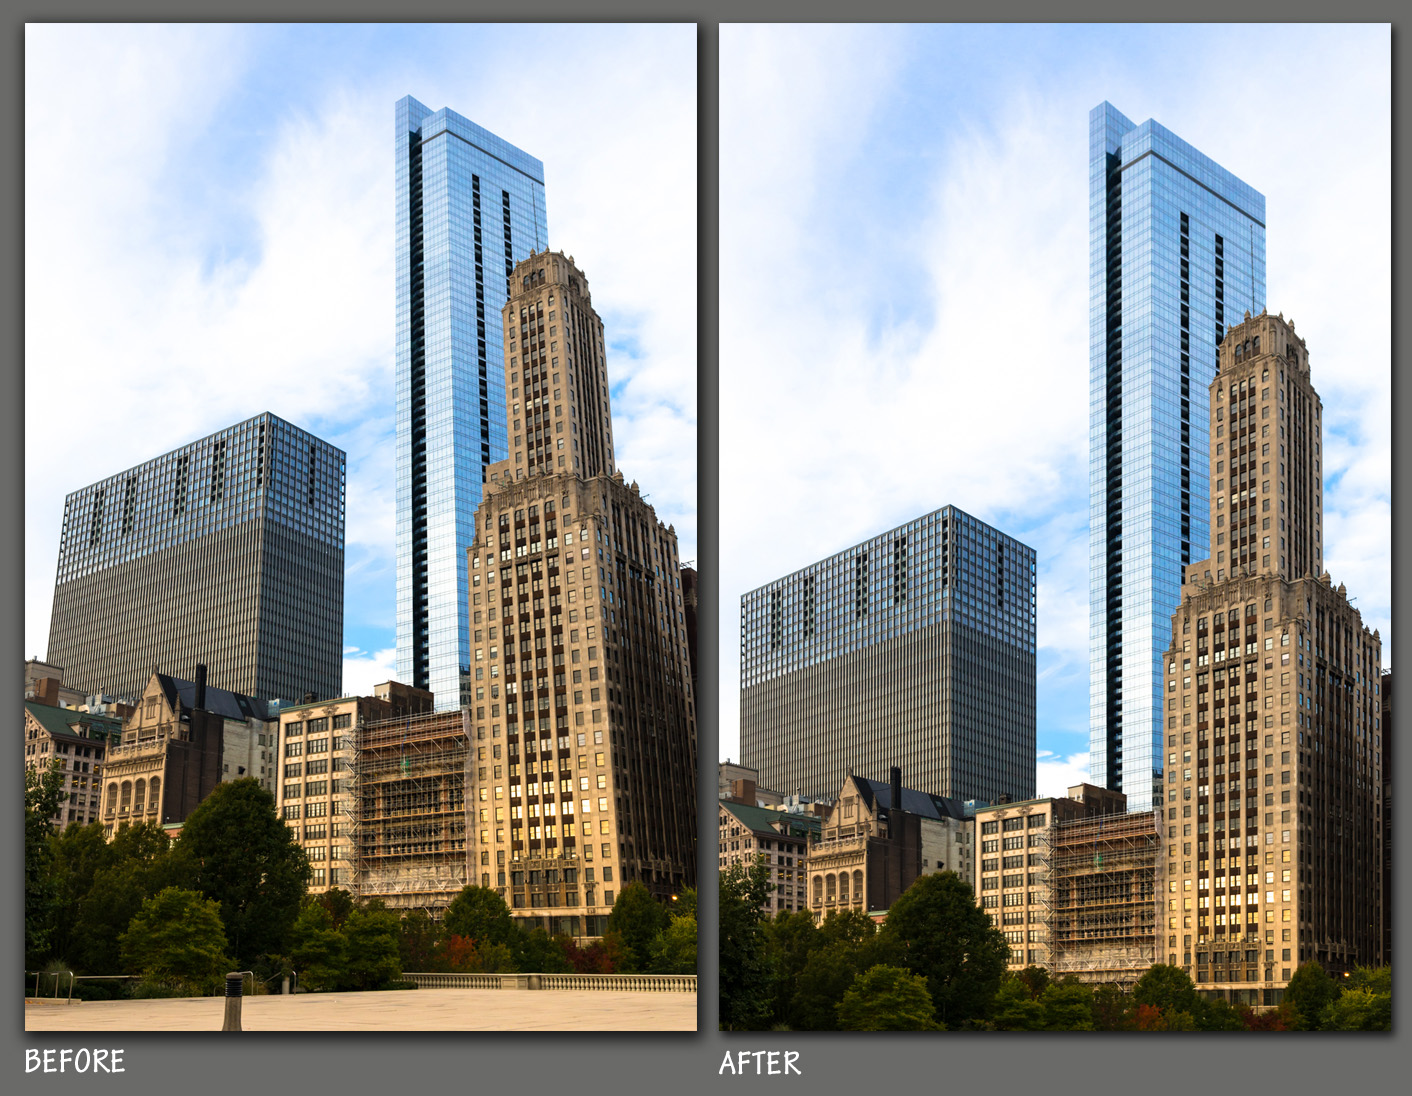
5. Edit – Sometimes you just can’t quite get the composition you want while nailing perfect verticals in camera. So when all of the above techniques don’t fully work, you’ll need to rely on the perspective controls of your favorite photo editing software. I do most of my editing in Adobe Lightroom 5, and use the lens correction tools often to achieve correct vertical perspective (sample below). Even when I think I’ve achieved perfect perspective in camera, often times it’s not until I’m home and in front of my computer that I realize slight adjustments need to be made. With that said, It’s a good idea to familiarize yourself with these tools even if you’r not as obsessive about perspective as me.
**You can learn more about the perspective controls in Lightroom 5 here, and Photoshop here

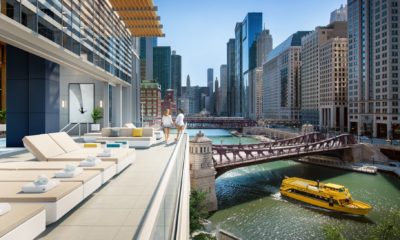
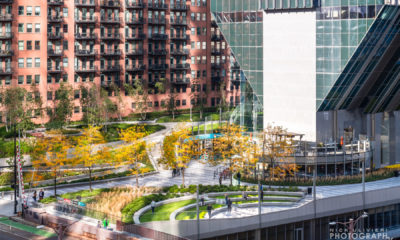
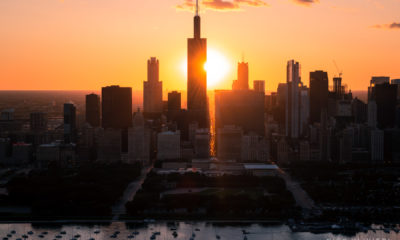
More examples: