Snokeh – freezing snow in its place
I crave winter snowstorms. And one of the ways I like to add variety to my winterscapes is by capturing ‘snokeh.’
Snokeh is a mash-up of ‘snow’ and ‘bokeh’ and it’s is a technique I started experimenting with last winter. This in-camera technique can be a little gimmicky but can also yield unique, dream-like images. The secret is simple. Recruit your camera’s flash to illuminate the snow falling in front of your lens. In practice though, there are a few variables that dictate the final product: The snow, the lens, and the flash.
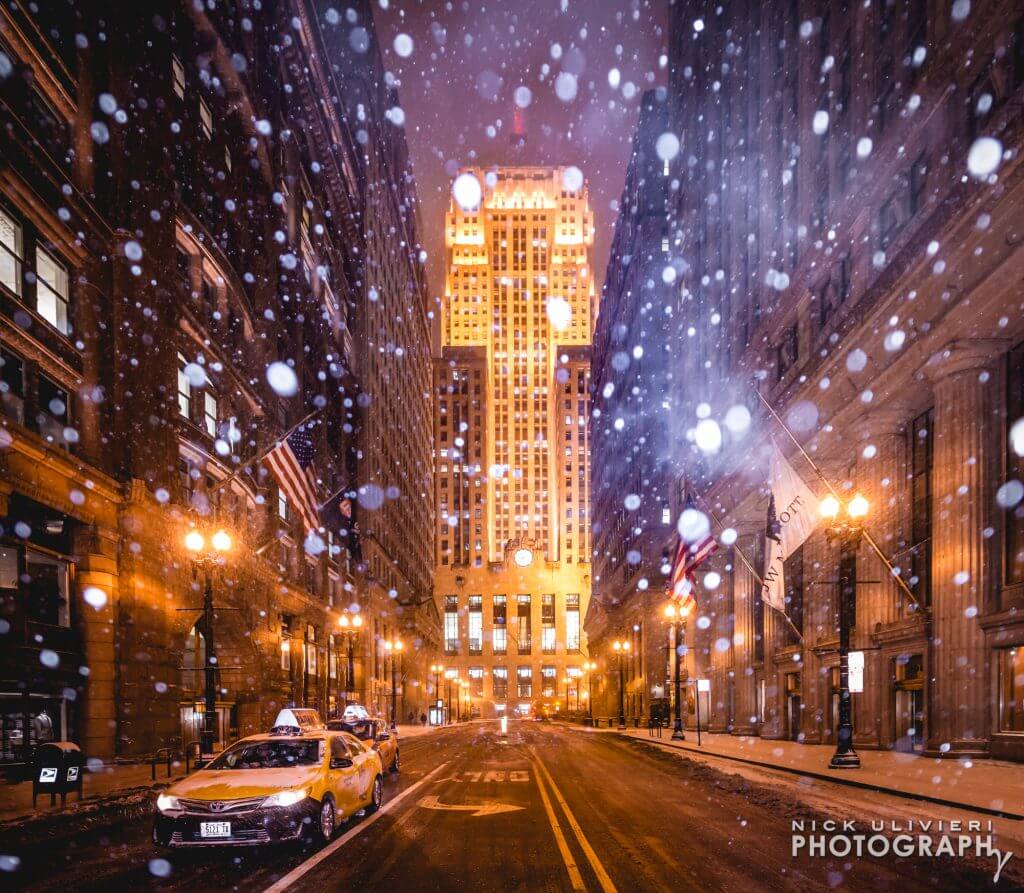
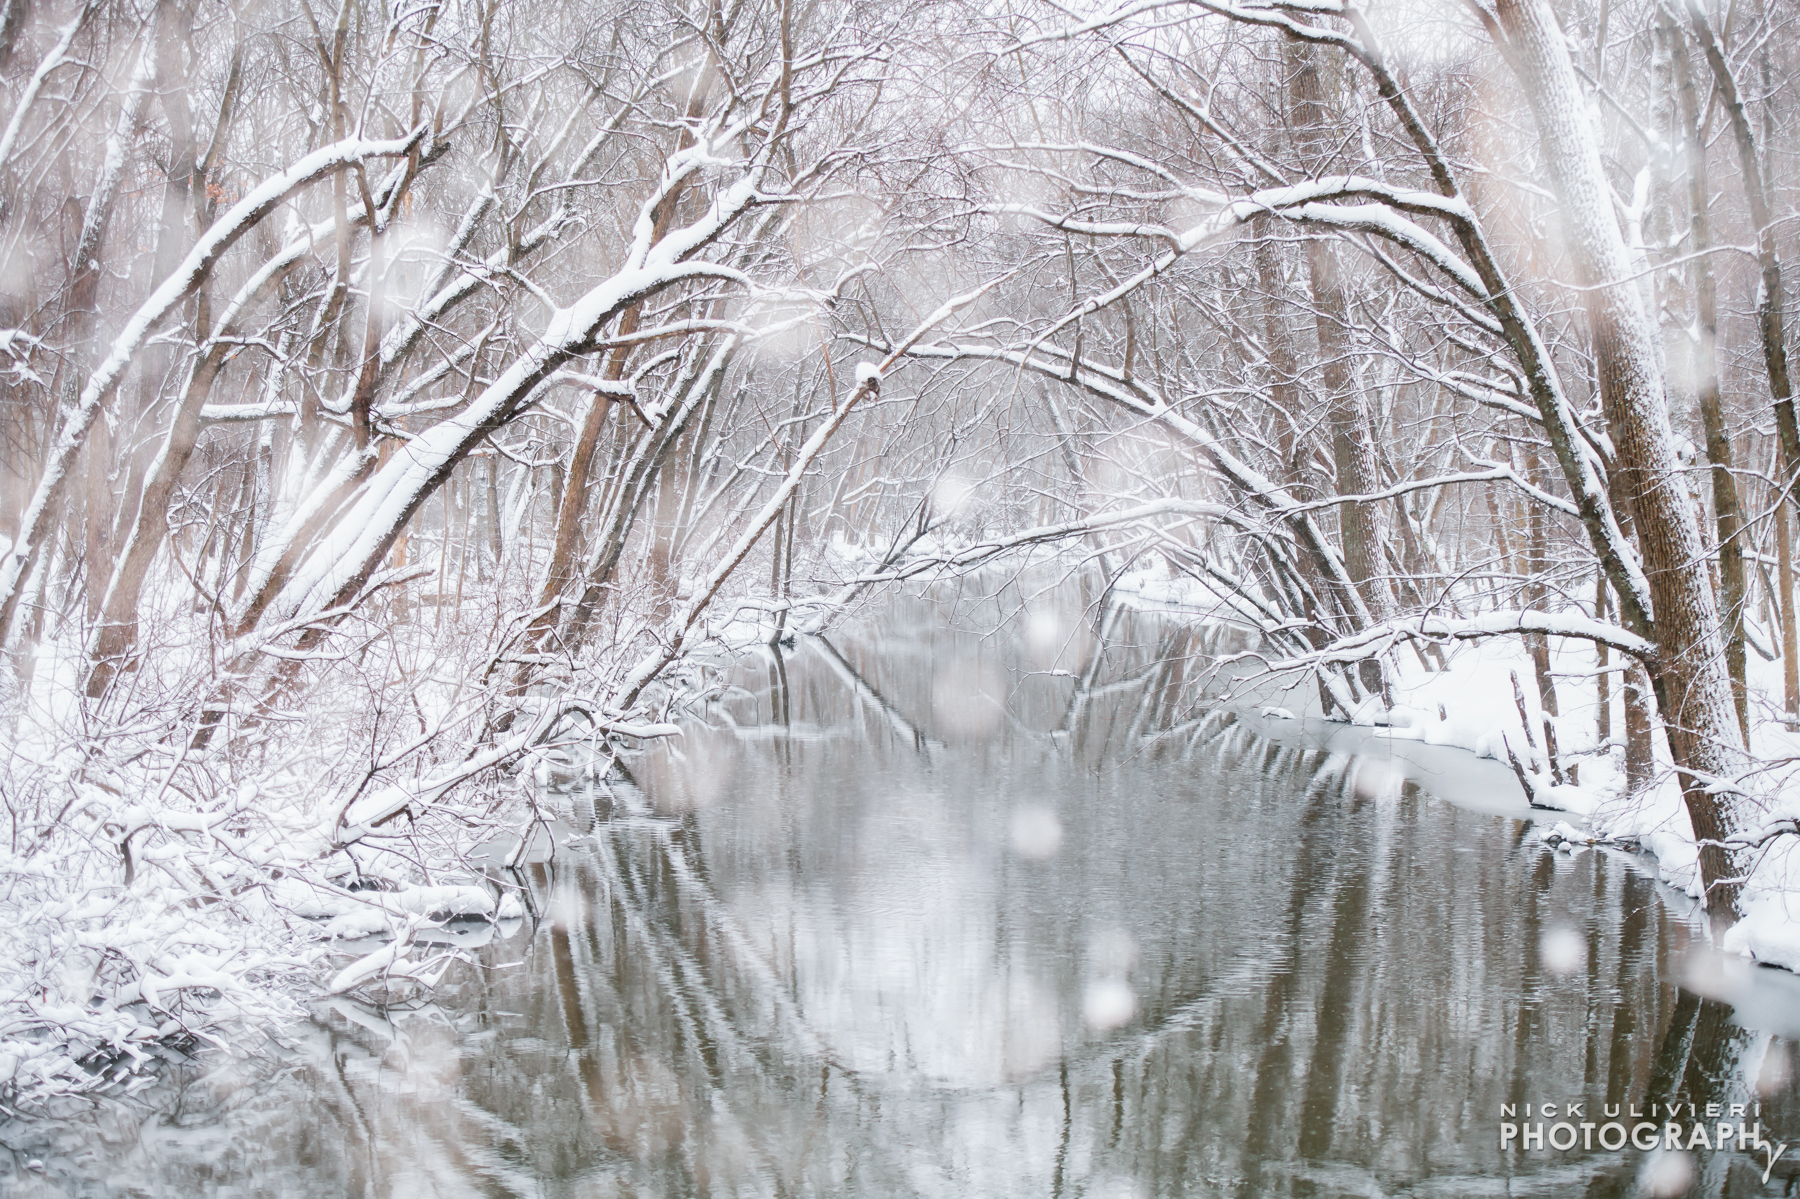
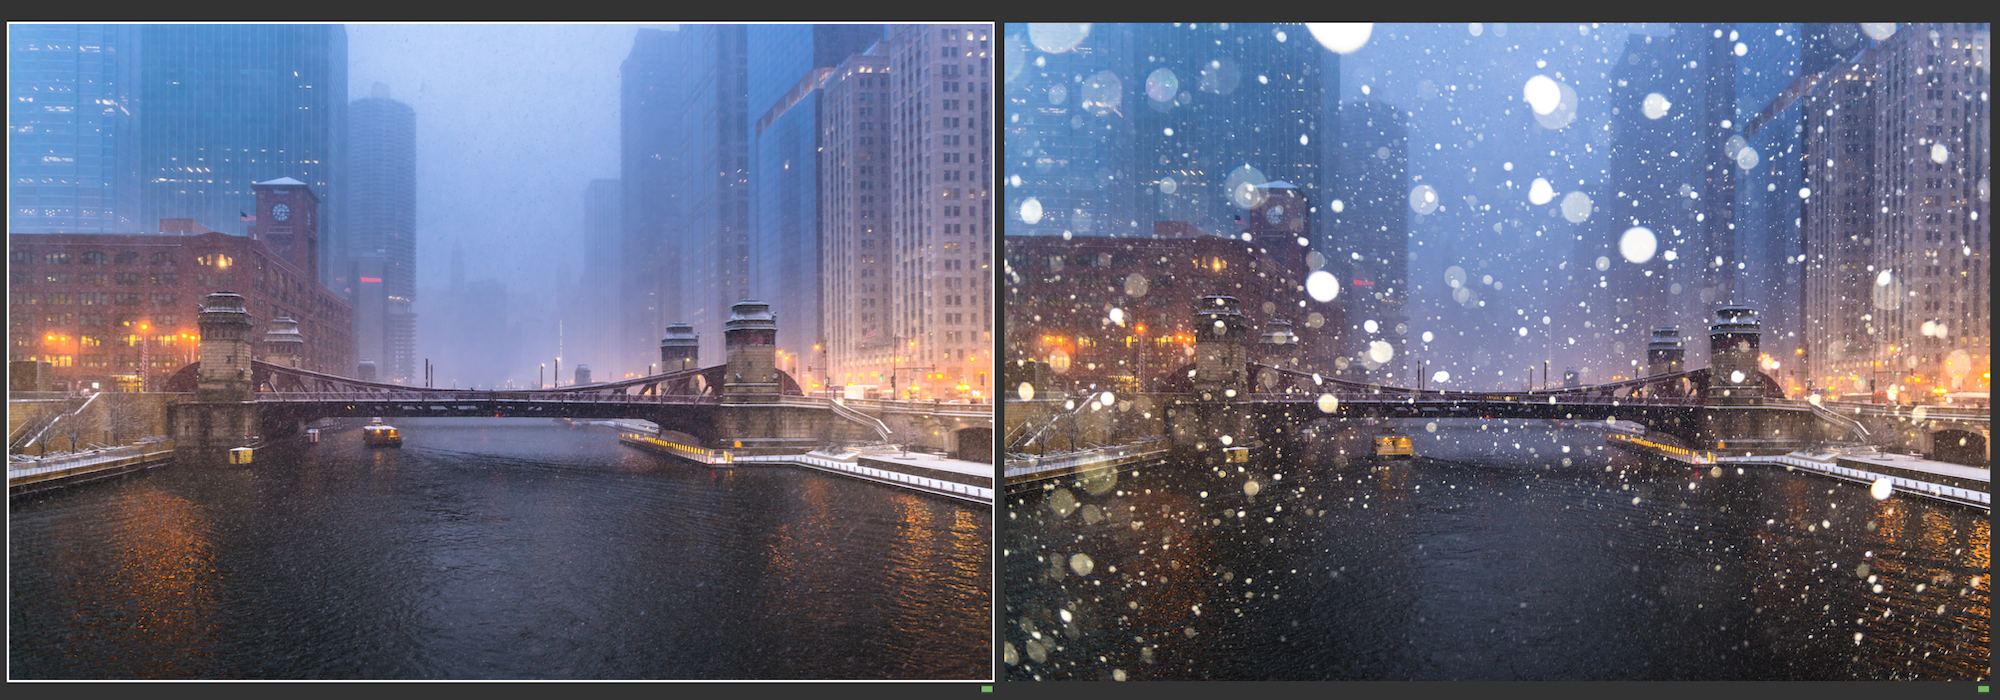
These shots were taken seconds apart. The only difference is that the on-camera flash fired.
The Snow:
This technique requires a moderately heavy snowstorm. The more snow that’s falling, the more more reflective bits you’ll get floating through your frame. Fluffier snowflakes will yield, bigger snokeh orbs than light, fine snow crystals. Add in wind gusts and rapid snowfall intensification, results can vary from minute to minute. These aren’t tips so much as reminders that you’re at the mercy of nature, so pay attention to the snow’s characteristics.
The Lens:
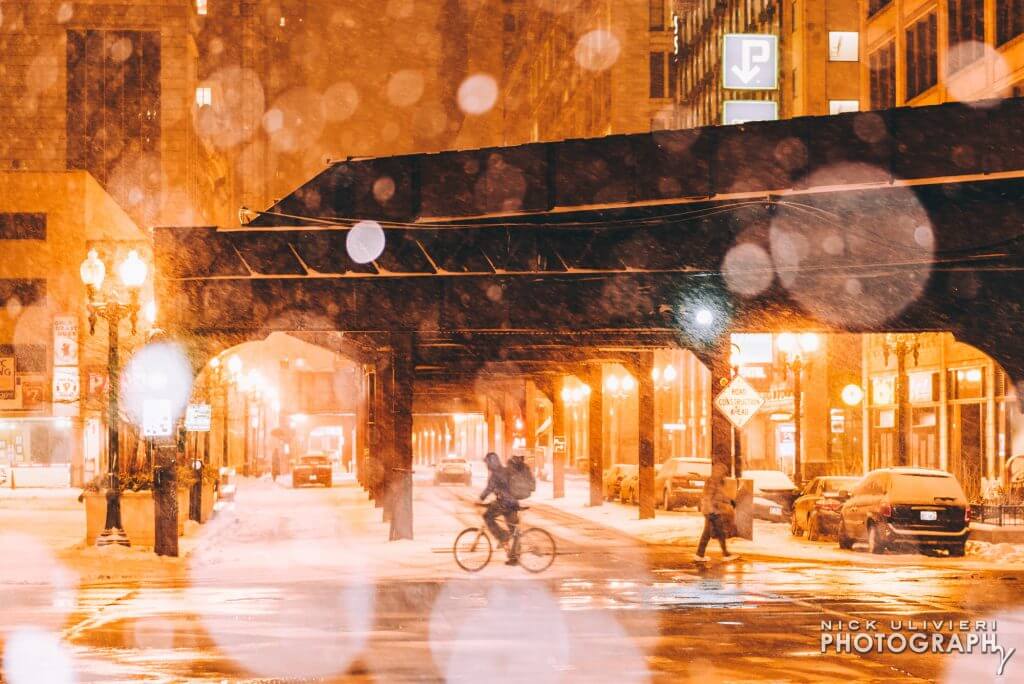
My go-to lens for this technique is the 24-70 f/2.8 for a few reasons. First, the zoom range is perfect – especially since it’s difficult to change lenses in these conditions. The size of the snokeh is not only determined by the snow itself, but by lens characteristics, too. If you shoot wide (less than 24mm), the snokeh ‘orbs’ tend to shrink. Conversely, when your focal length is greater than 70mm, you effectively zoom through the nearby illuminated flakes. In other words, the lit flakes near your lens are so out-of-focus and ill-defined, you can’t tell they’re snow flakes.
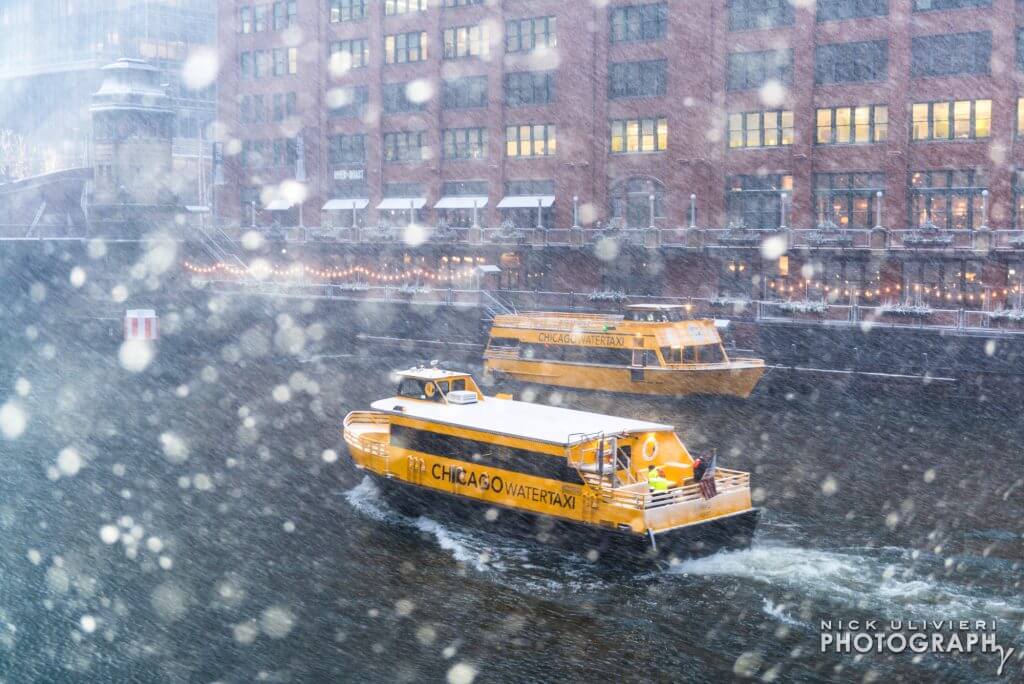
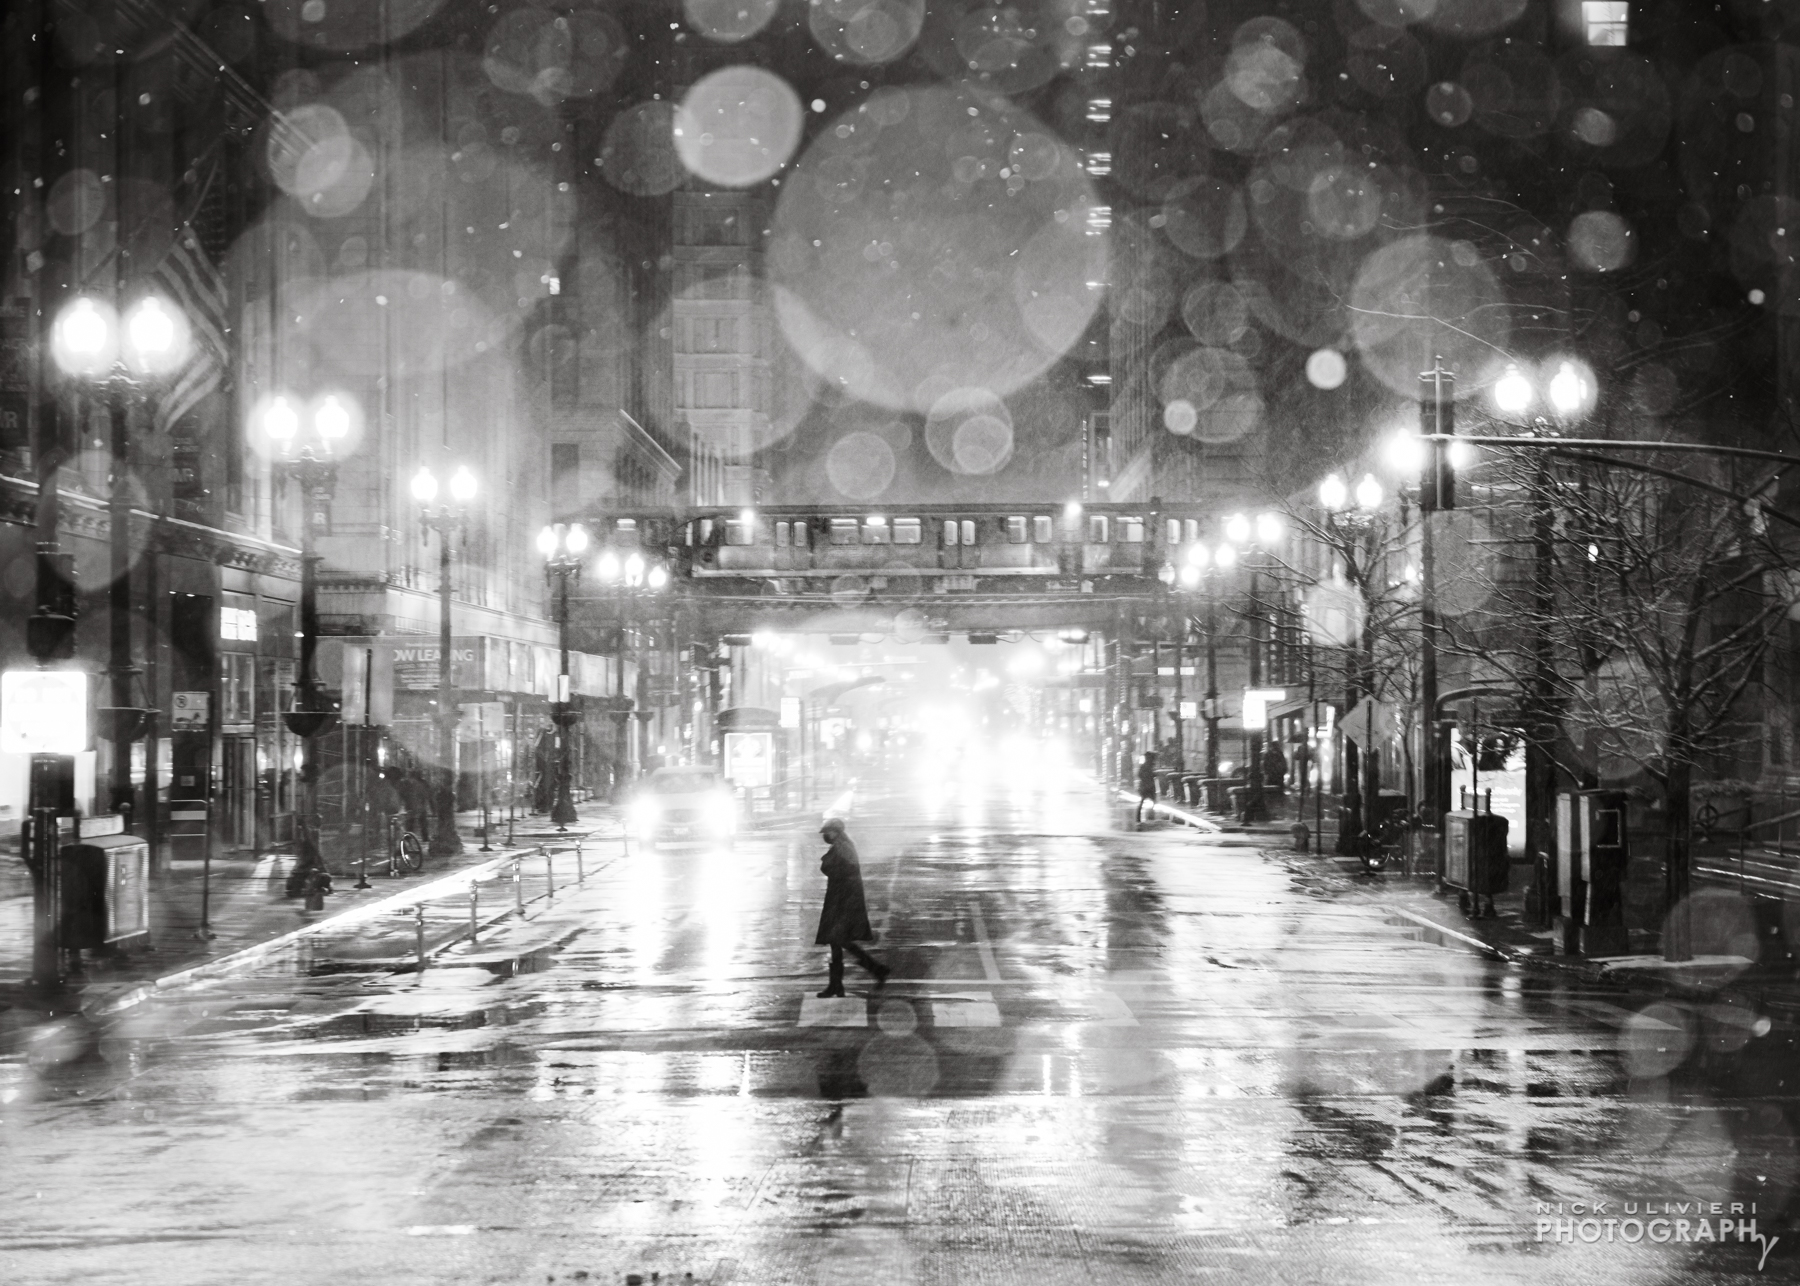
This shot was taken at 68mm. To me, the snokeh is too soft and too big to be a successful snokeh shot.

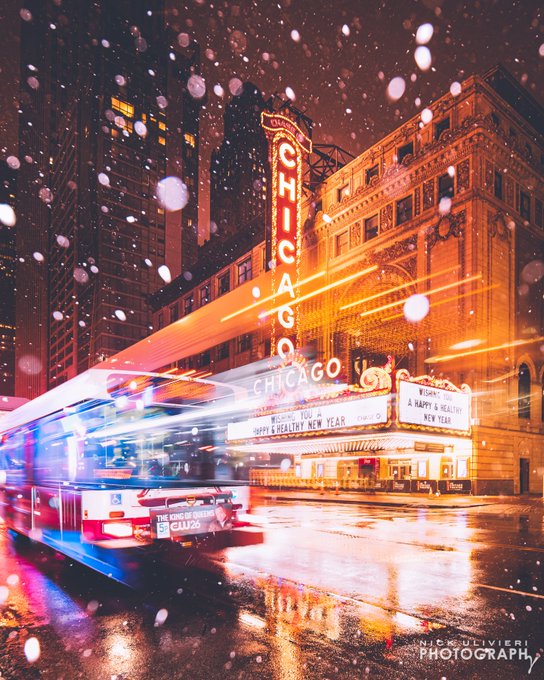
The final reason I love a fast 25-70 is the wide aperture. If you’ve ever tried to get a nice bokeh-y background, you know the trick is a wide aperture. Really, all we’re trying to do is creating bokeh in the foreground of the photo by illuminating the snow as opposed to the background. At f/2.8 you can easily shoot handheld and it softens the flakes just right.
The Flash:
The on-camera flash works just fine for this technique. Especially in the 40+mm range. But it’s not perfect. When the on-camera flash fires, your lens will cut into the light beam creating a semi-circular shadow near the bottom of the frame.
This is a really drastic example taken at 19mm. The flash illuminating the snow already on the ground really makes this unfortunate side-effect quite apparent:
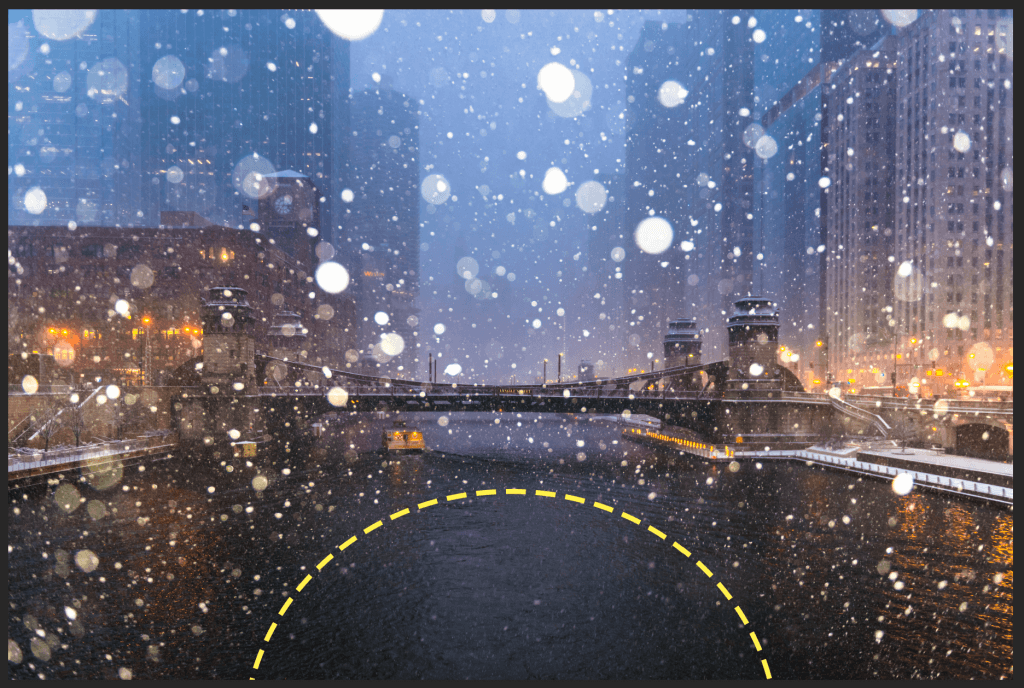
Here you can see the ‘cone of darkness’ in the comparison photo from earlier in the post:
So, how do you remedy this? There are a couple ways:
- Zoom.
- Crop out the dark area.
- Use a speed lite. This is the best option if you want to shoot wider. Because the flash originates higher off the top of your camera, the lens doesn’t cut into the light beam near as much.
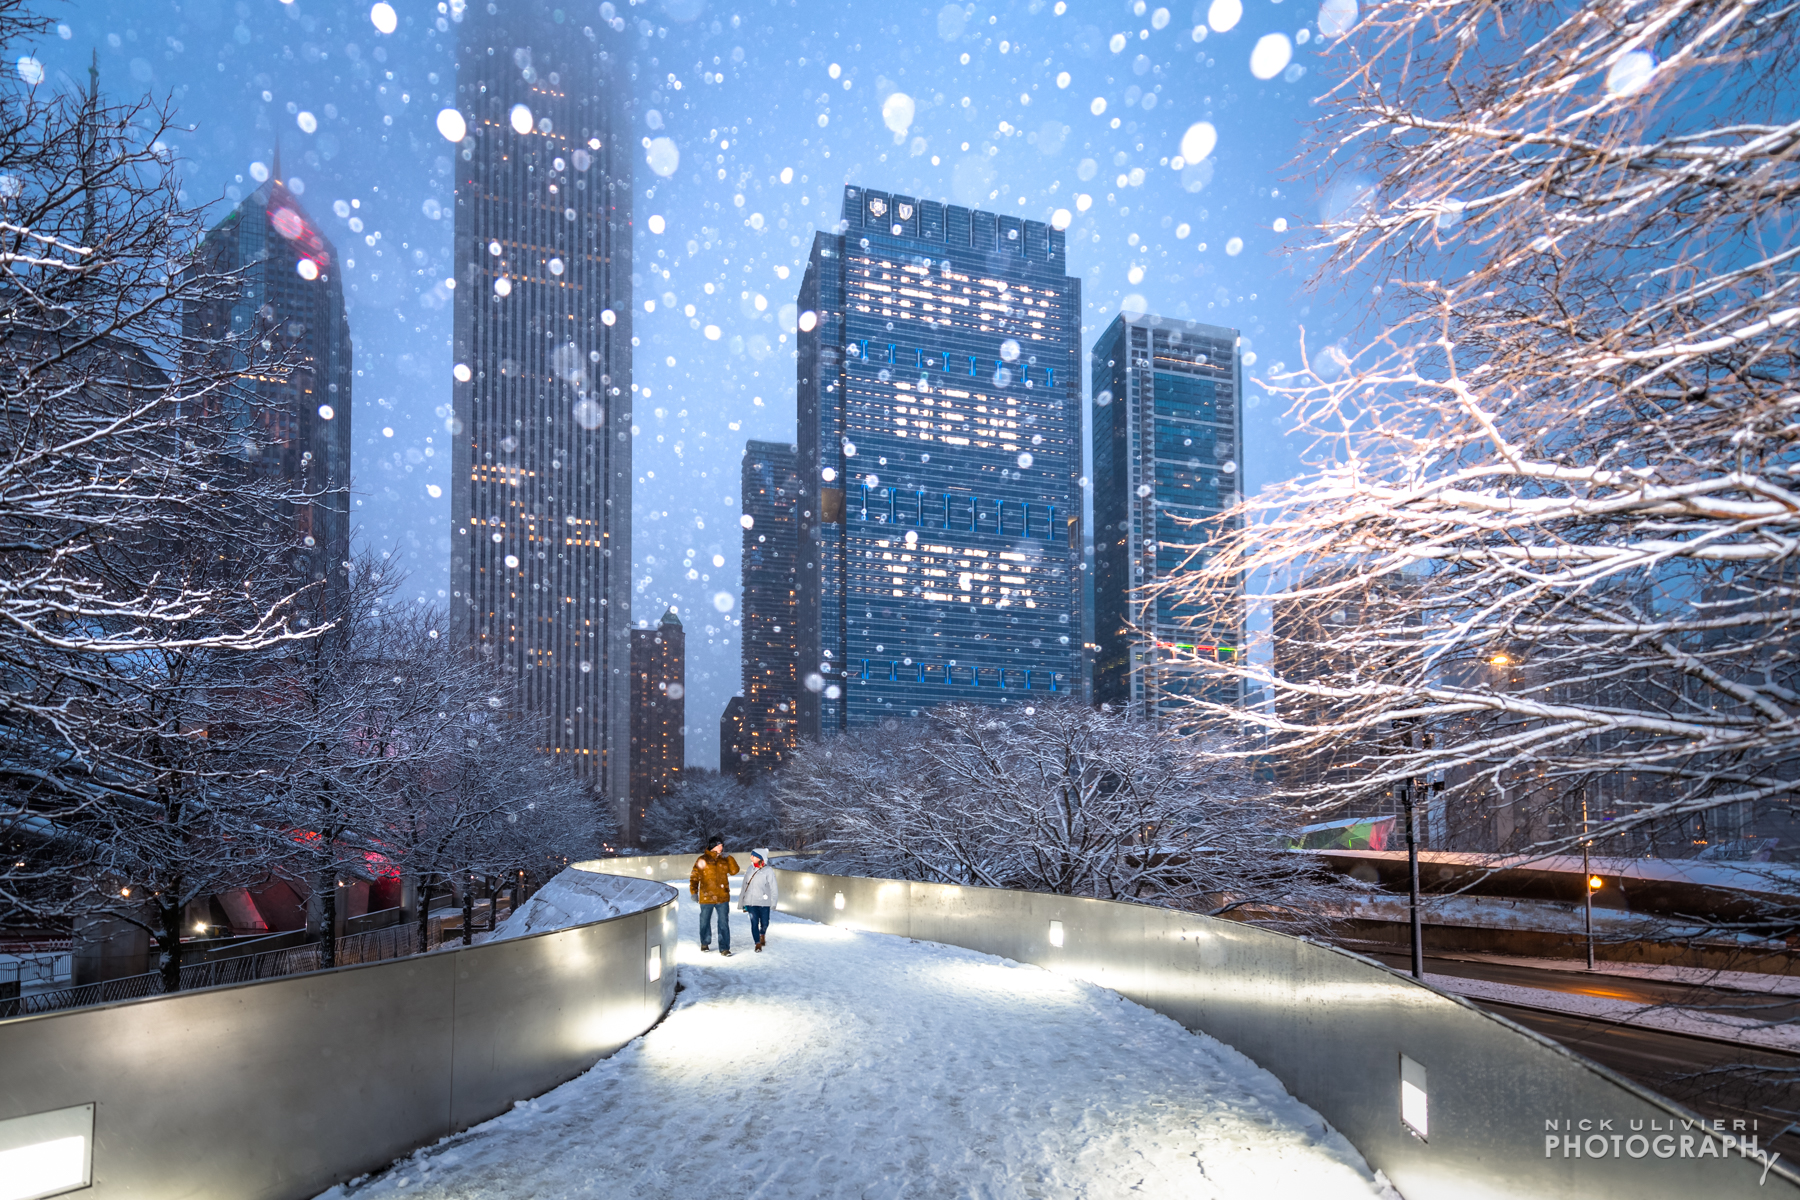
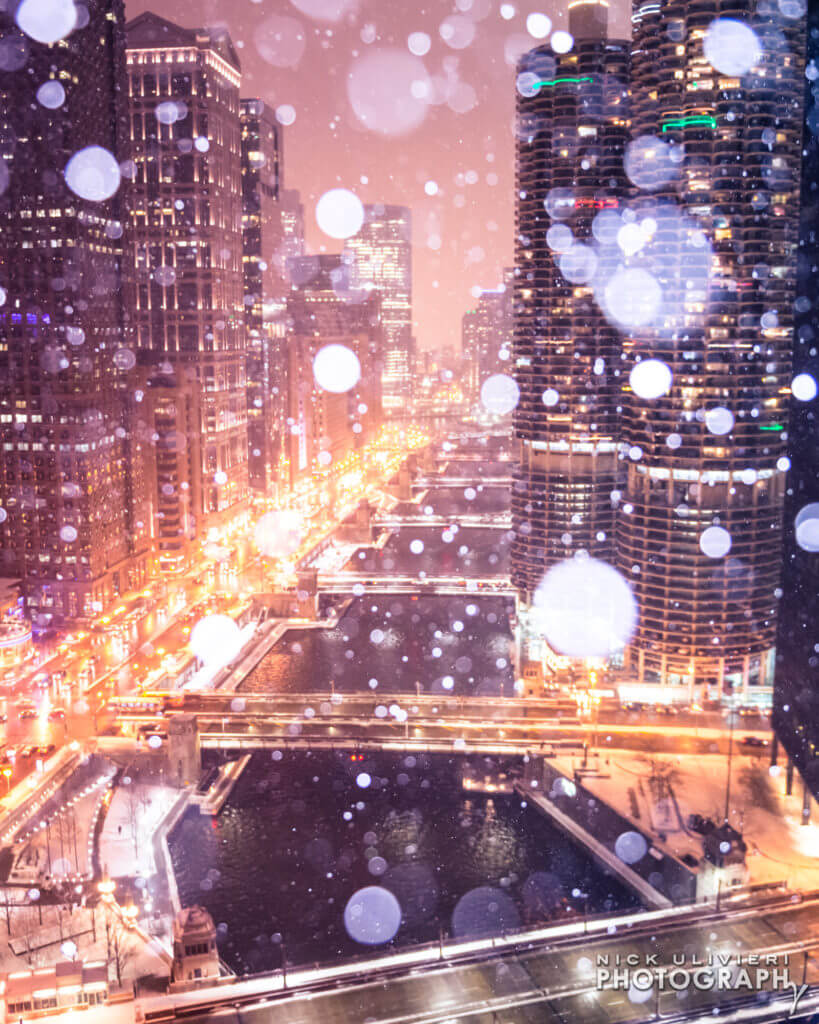
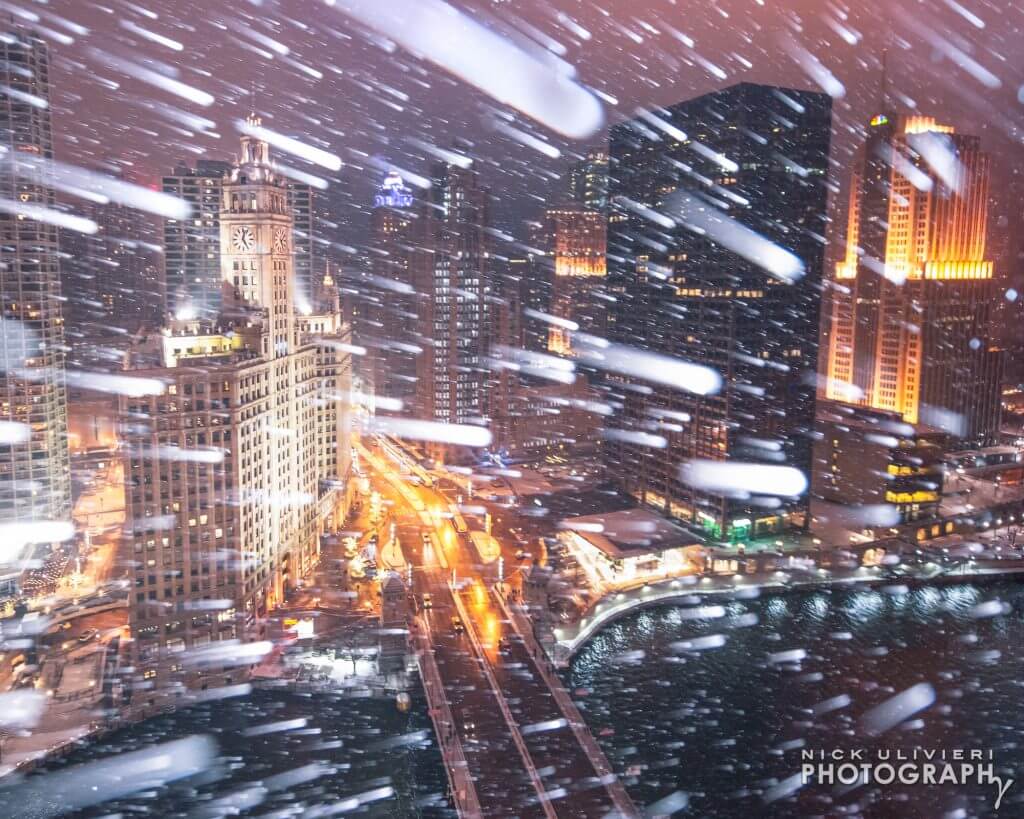
I snagged this photo from atop LondonHouse using my speed lite. Even At 18mm, there was no ‘cone of darkness’ to crop away. The motion-blurred effect was a happy accident. The winds were swirling, and a particularly strong gust propelled a burst of snow quickly passed my lens.
I hope you have fun with this technique. One thing’s for sure, it’s not an exact science. Ambient light levels, snow quality, and flash settings will yield a wide variety of results. The best thing to do is get out there and have some fun while the snow is falling. And bundle up.
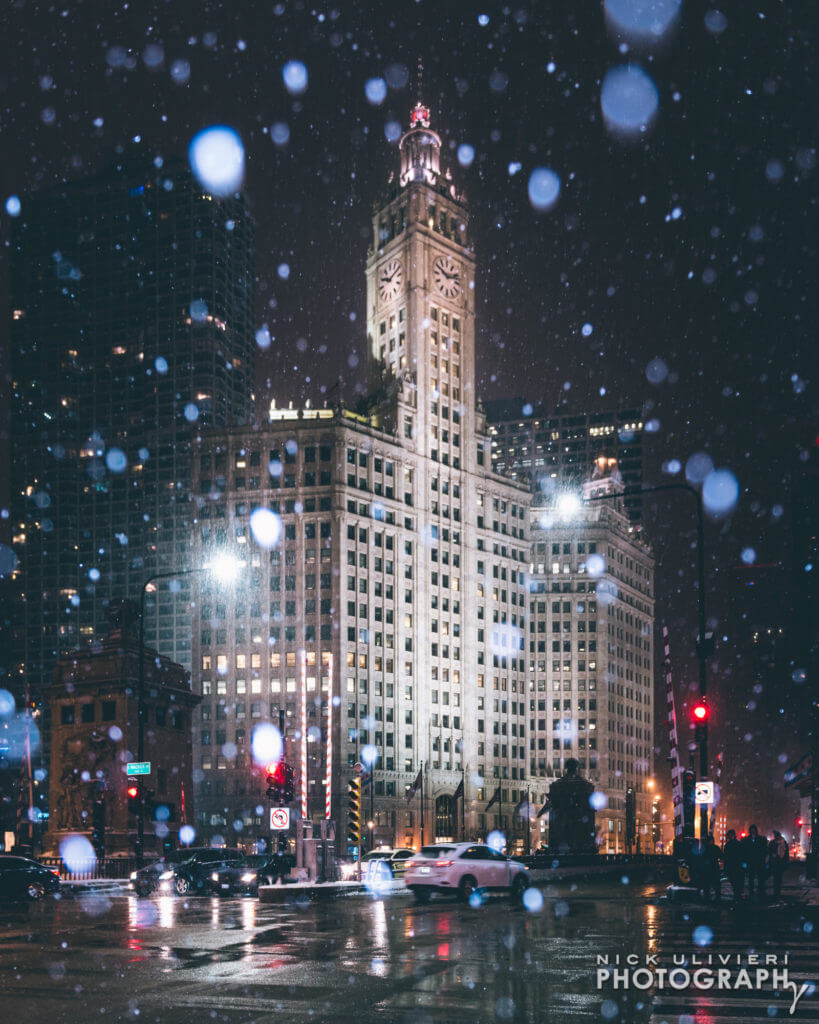
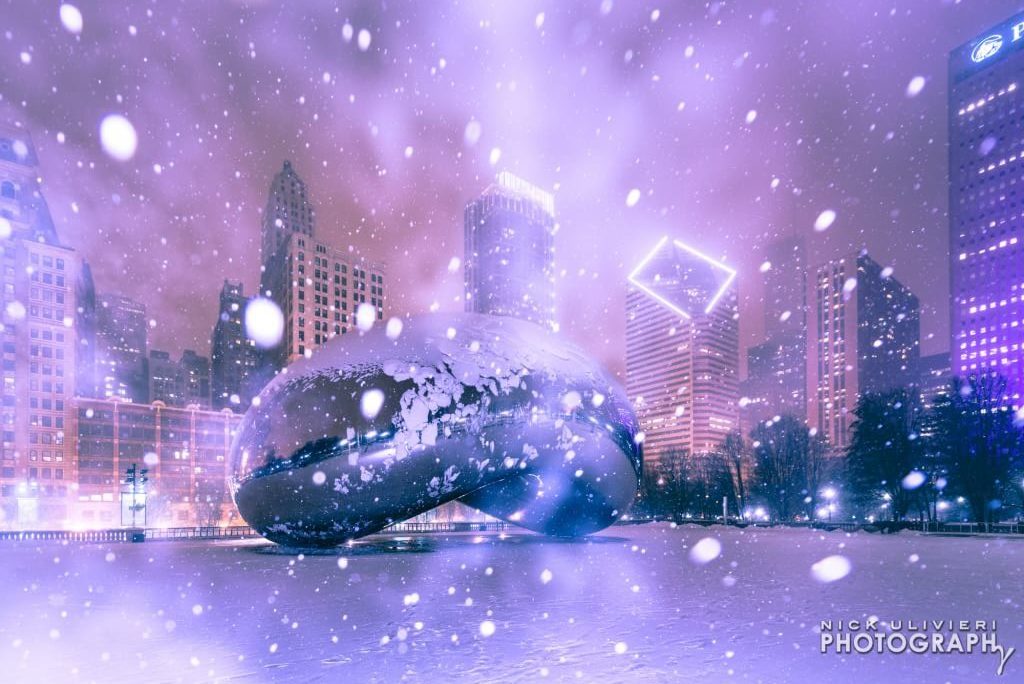
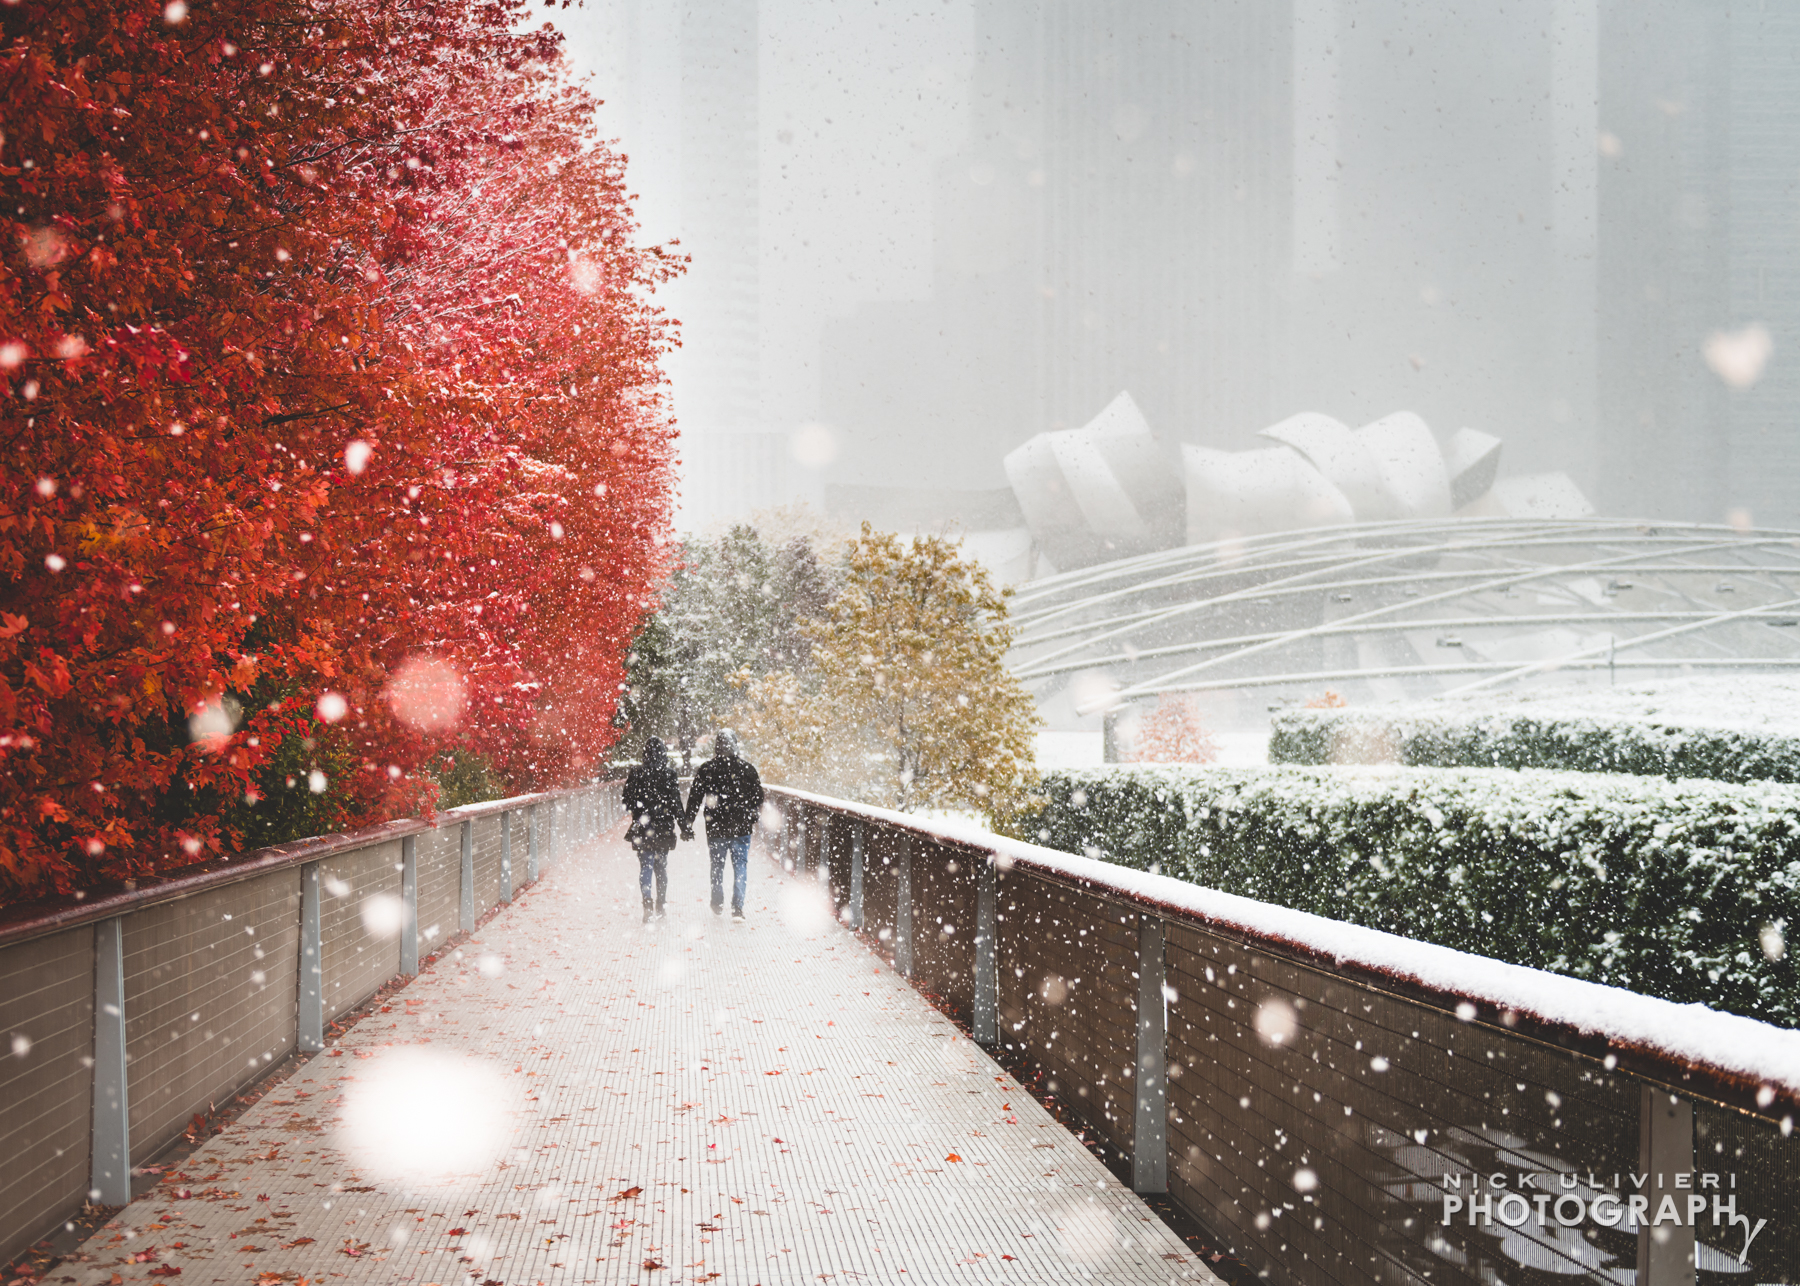
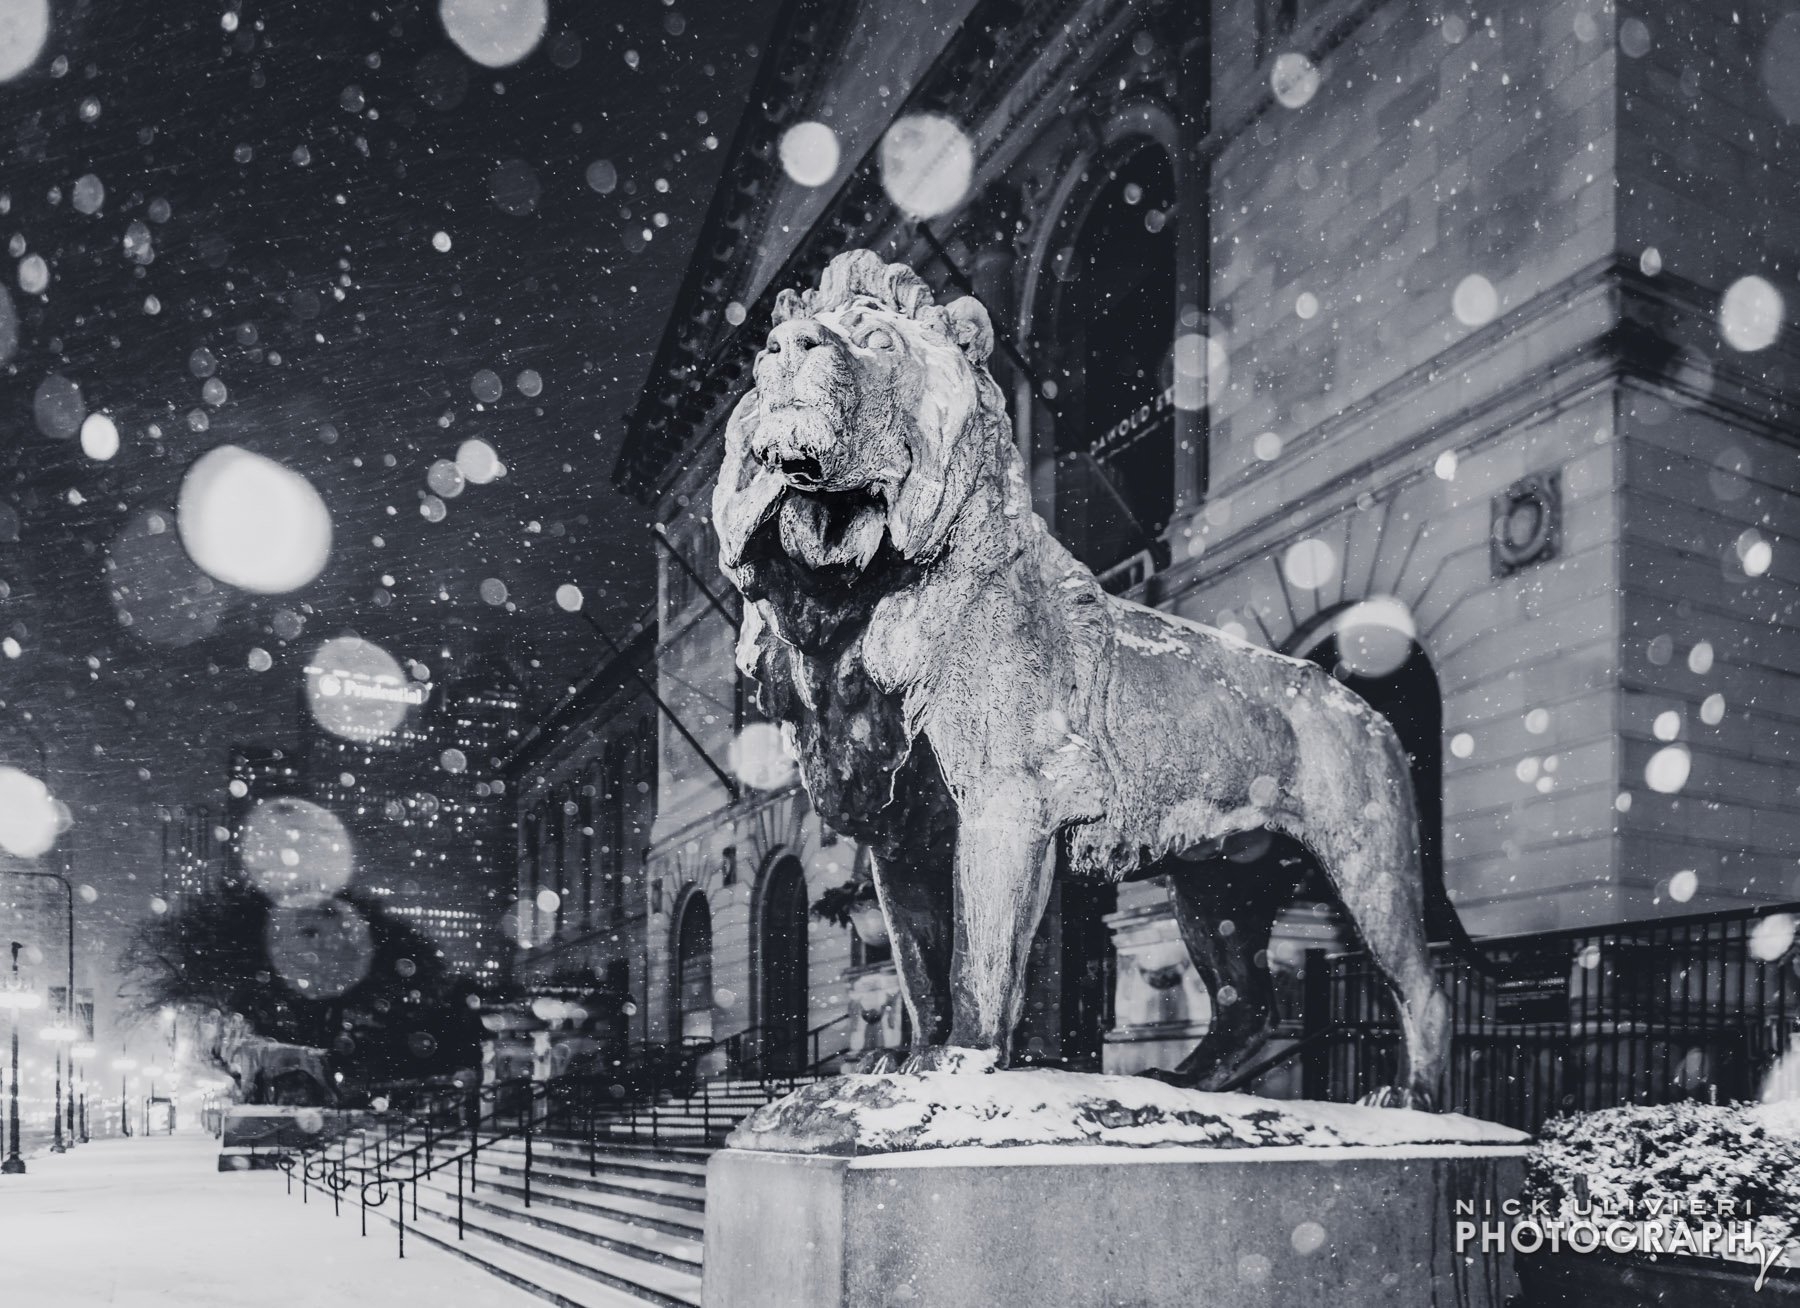
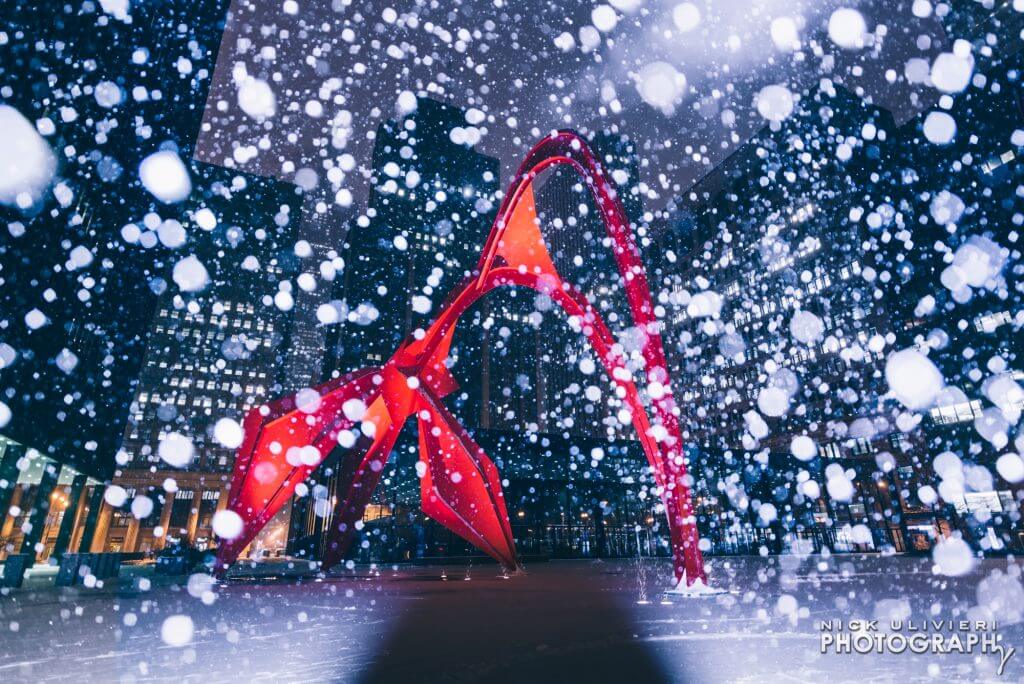
Here are a few of my favorite Snokeh shots from the past few years: